Blog

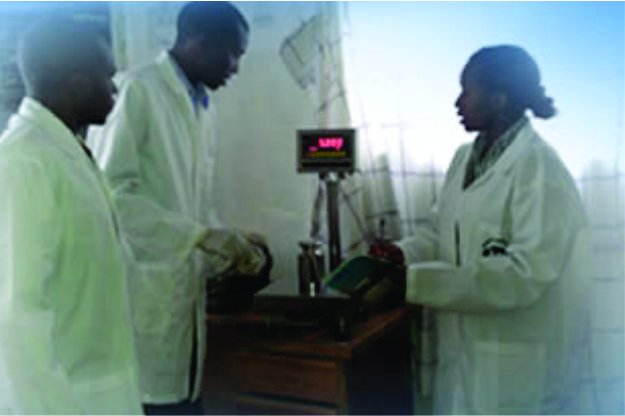
LIQUID PENETRANT TESTING INTRODUCTION Test object or material is coated with visible or fluorescent dye solution. Excess dye is removed from surface and dry developer acts as blotter, drawing penetrant out of imperfections which open to the surface. Within visible dyes, vivid color contrast between penetrant and developer makes ،،bleed outۥ ′ easy to see with florescent dyes, Ultraviolet light is used to make bleed out fluoresce brightly thus allowing imperfections to be seen readily. OBJECTIVES This course is designed to provide the participant with an understanding of the fundamental theory and applications of Liquid penetrant testing methods to engineering materials. COURSE CONTENTS: Non –Destructive testing and personnel certification. Introduction of the liquid penetrant test method test method Properties of penetrant Basic procedure of liquid penetrant Selection of penetrant types and removal processes Operational steps of liquid penetrant. Steel making, casting &welding processes Interpretation and evaluation of liquid penetrant indications. Development and writing of reports and techniques. PRACTICAL Selection and Calibration of Equipment Compilation of Work Instructions and Technique Sheets in accordance with predetermined Standards Perform Visible and Fluorescent Tests Perform Liquid Penetrant Testing on Welds, Castings and Forgings Complete Report Forms Interpretation and Evaluation of findings in accordance with multiple Specifications. TARGET GROUP Welding technician Welding supervisors Welding engineers Quality Assurance Inspectors EXAMINATION At the end of the training programme, the participants are required to take up an examination both in theory and practical as recommended by SNT-TC-IA.Successful candidate are eligible to be certified by the employer as level I&II in PT. COURSE FEES: Kshs 45,000.00+VAT per person (Level I and II combined)
MISSION STSTEMENT
To develop a multi-specialized engineering consultancy firm providing professional services both locally and regionally in the fields of Non-Destructive Testing (NDT), Calibration and Quality Management Systems (QMS).

CLIENT SERVICE

QAS APPROACH

Our approach to any assignment is to provide prompt and personalized services at very competitive rates, and whose payment terms are flexible and negotiable. We also alert our clients one month in advance before their equipments are due for re-calibration. We ask you to join us so that we can also put you in our yearly calibration calendar. Since its inception, the company has been involved in a range of projects nationwide. The company has also been a service provider in other East African countries including Burundi, Tanzania, Uganda, Congo , Rwanda, Sudan and Somalia.
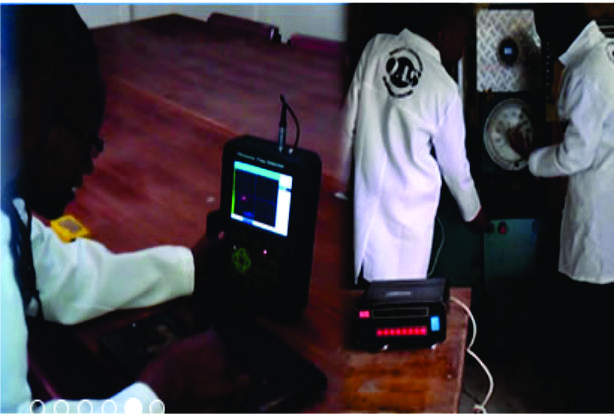
Radiographic testing Level I & II

nvolves use of penetrating gamma X-radiation to examine parts and products for imperfections .An x-RAY machine or radioactive isotope is used as a source of radiation. Radiation is directed through apart and onto film or either media. The resulting shadowgraph shows internal soundness of the of the part. Possible imperfections show up as density changes in the same manner as X-ray shows broken bones.
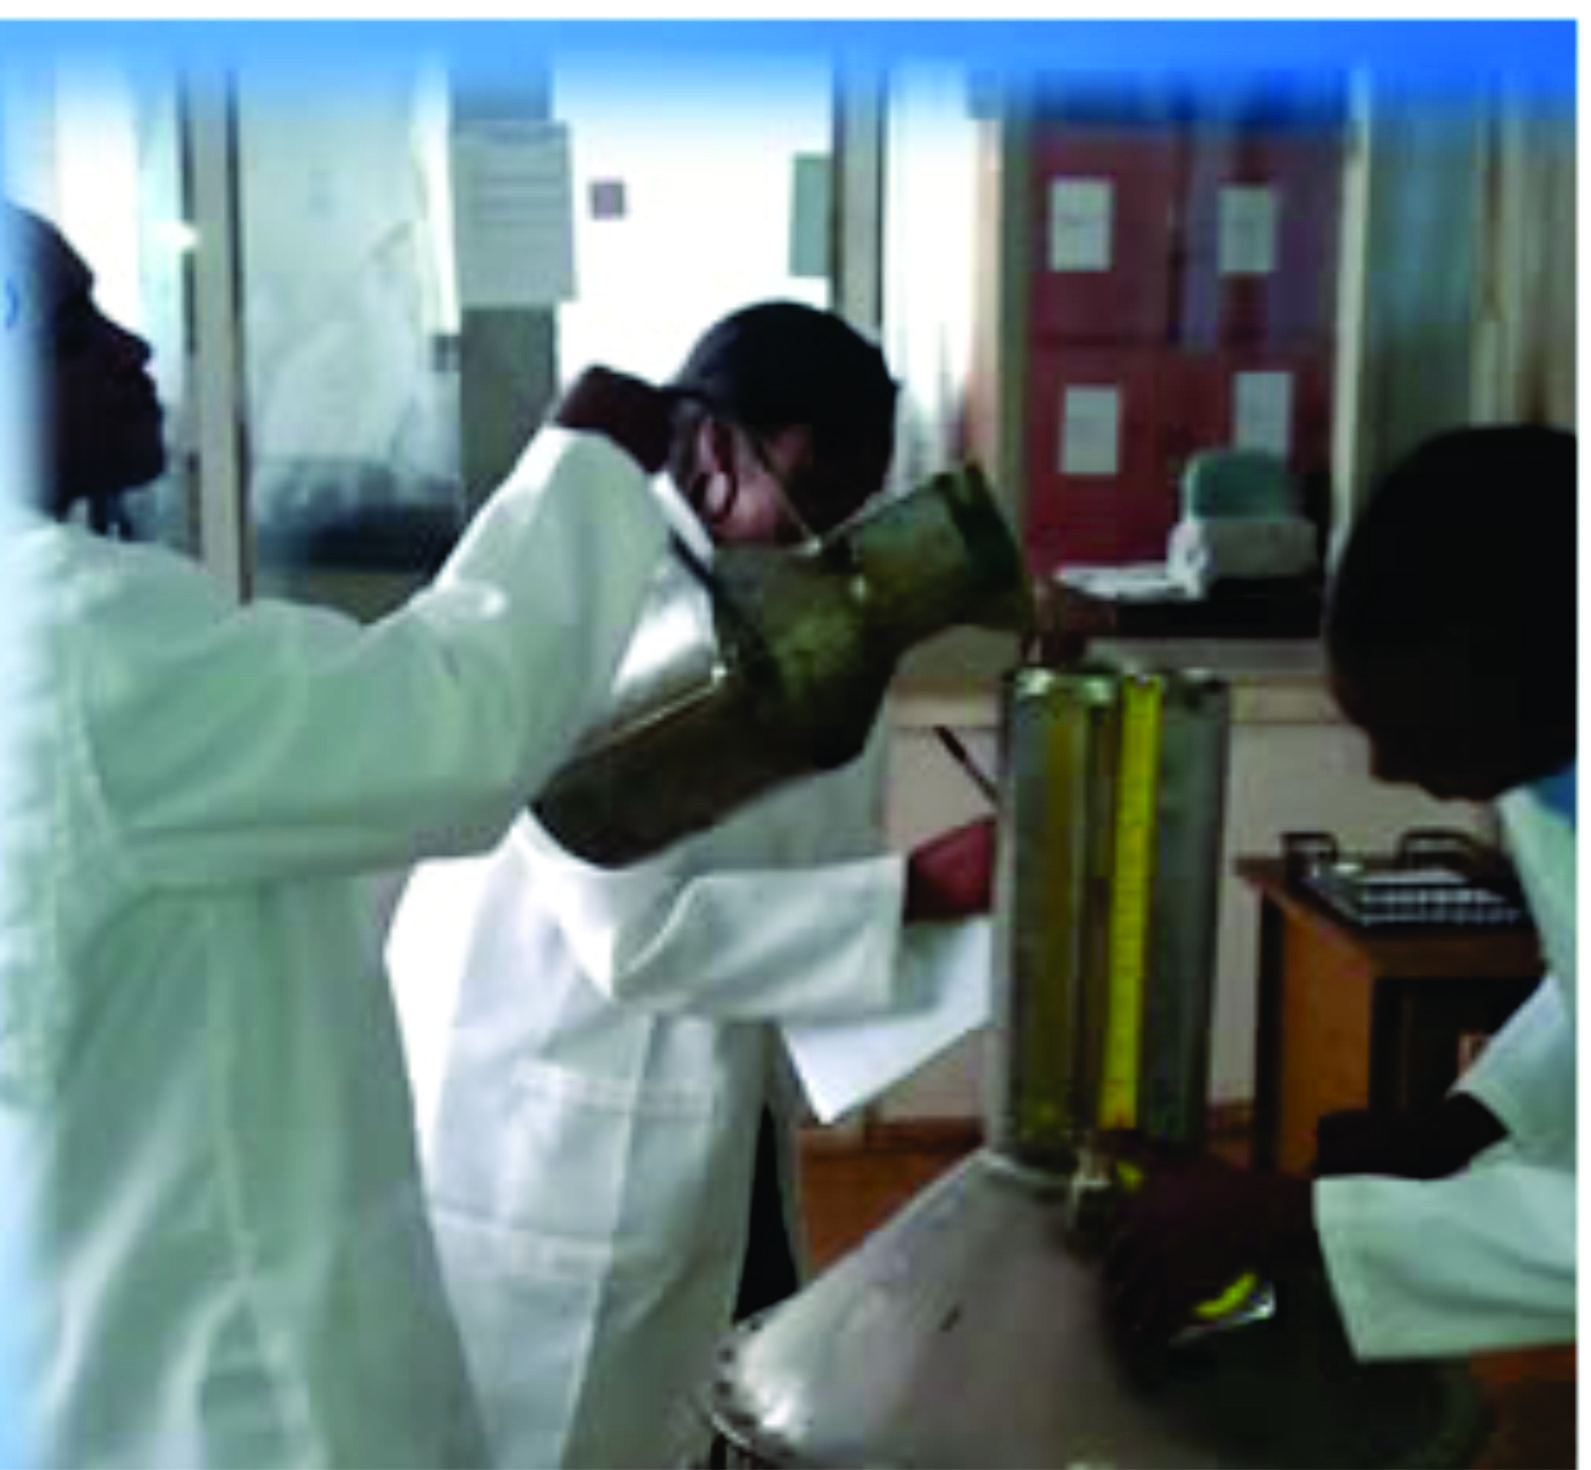
Training: ultrasonic testing

Uses transmission of high-frequency sound waves into material to detect imperfections within or to locate changes in material properties. Most commonly used ultrasonic testing technique is pulse-echo, where sound is introduced into a test object and reflections (echoes) are returned to receiver from internal imperfections or from geometrical surfaces of part.

Visual Inspection Testing

Visual Inspection is one of the most widely used Non-Destructive Testing methods for the detection of discontinuities before they cause major problems, e.g. poor welding, surface defects, corrosion pits, general condition, degradation, blockages and foreign materials. Visual Inspection means the inspection of equipment and structures using a combination of human senses such as vision, hearing, touch and smell. Visual Inspection is sometimes carried out in conjunction with devices such as a low power magnifying glass, boroscopes, fiberscopes, digital video bore scopes, camera systems and robotic crawler systems